
Full 25-point door and opener safety check with every visit - springs, cables, rollers, tracks, and your LiftMaster or Chamberlain opener included
You get a price before we start. It does not change when the truck arrives.
 Before
 After
After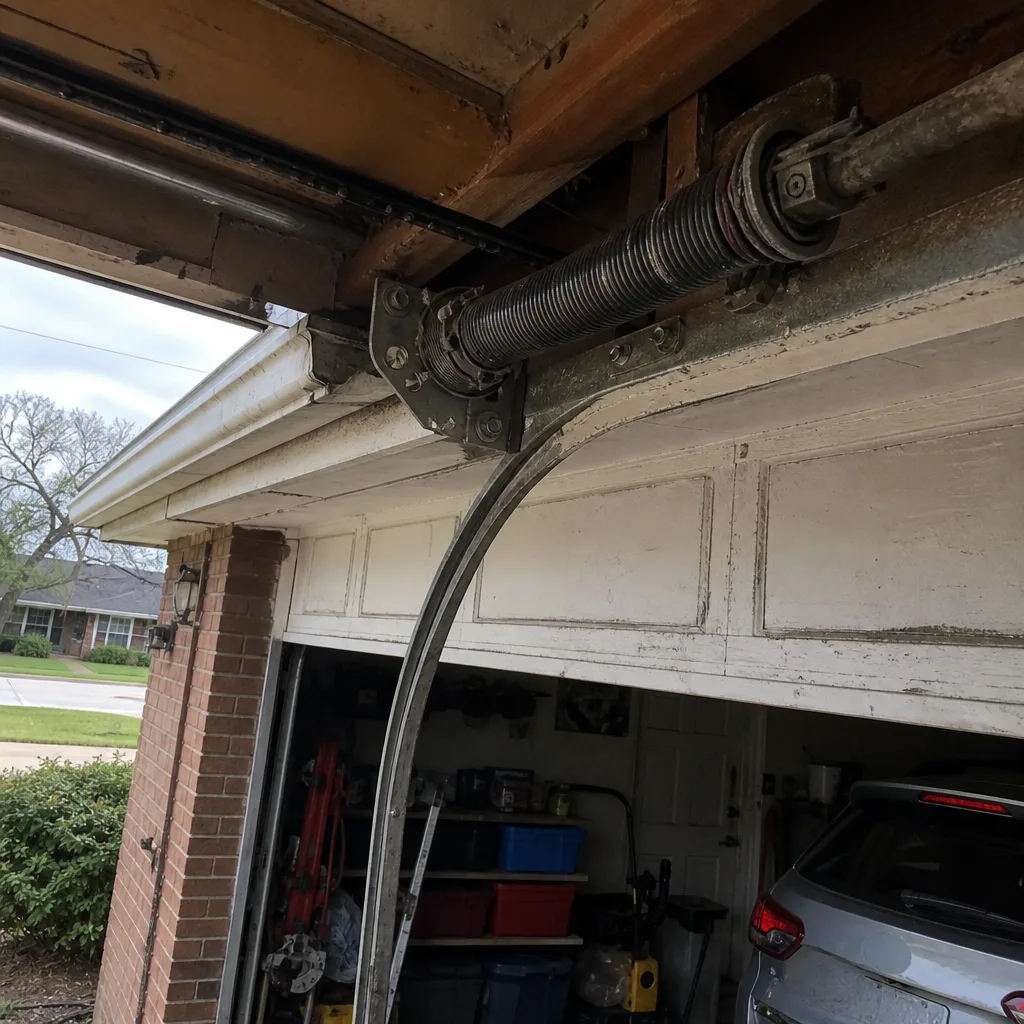 Before
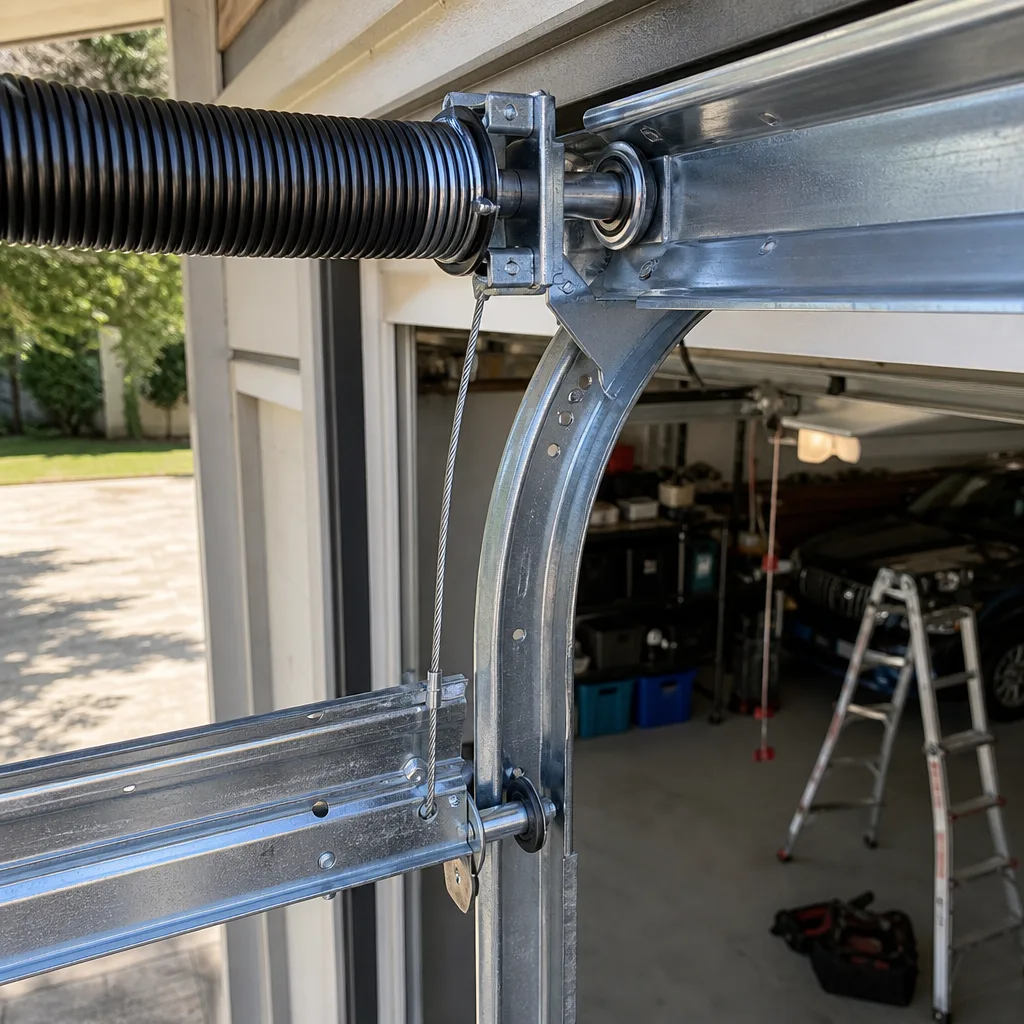 After
After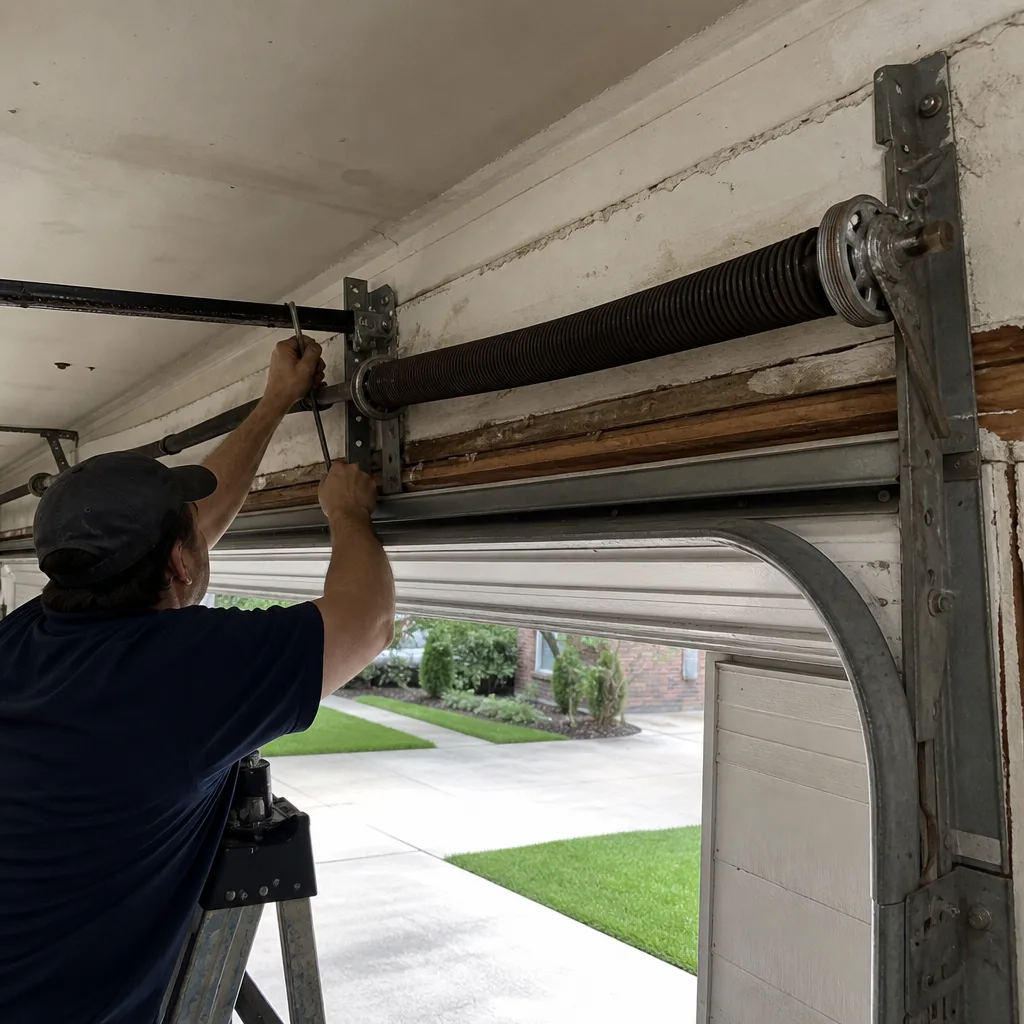 Before
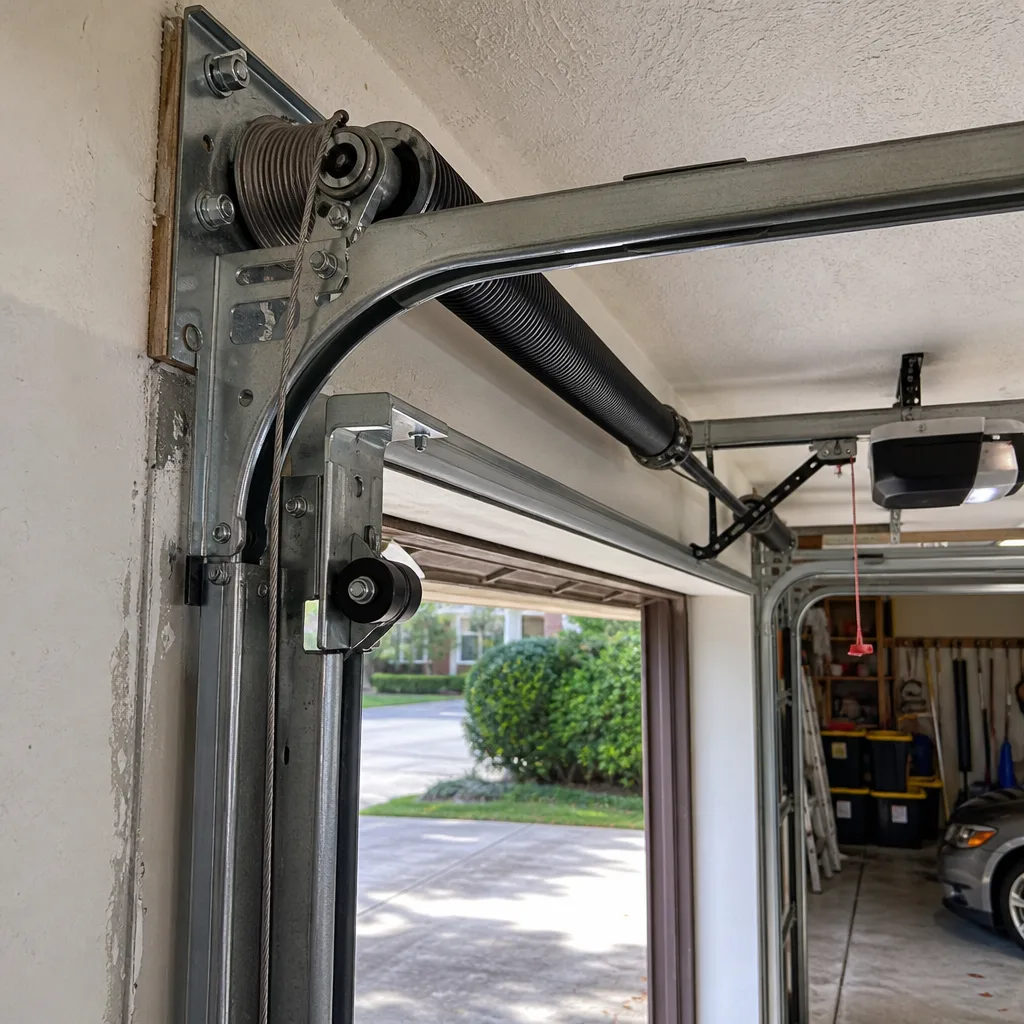 After
AfterRaynor Weather Seal Replacement: The Bellaire Owner’s Guide
Raynor weather seal replacement in Bellaire typically runs $150-$600 installed, depending on door width and whether the retainer track also needs work. We stock Raynor-compatible seals on our trucks and can usually complete the swap in a single visit. Most Bellaire homeowners notice the problem first as water pooling after a rainstorm or a draft they cannot trace.
The weather seal sits in a narrow retainer channel across the bottom of your Raynor door. In Bellaire’s Gulf Coast climate, that rubber or vinyl strip takes a beating: summer heat softens it, winter cold hardens it, and the annual storm season pounds it with wind-driven rain. After five to eight years, it cracks, compresses, or pulls free. The gap left behind is small, sometimes barely visible, but it lets in everything you bought the seal to stop.
Which Raynor Models This Applies To
Raynor has used three main bottom seal profiles across its residential lines. The T-end seal fits most Raynor Advantage and BuildMark series doors from 1995 onward: the T-shaped stem slides into an aluminum or PVC retainer. The bulb-style seal, with its rounded hollow tube, appears on older Raynor Classic and Tradition series doors, particularly common in Bellaire’s 1970s and 1980s ranch homes. The bead-end seal, less common, snaps into a C-shaped retainer found on some commercial-grade Raynor sectional doors.
To identify yours, look for the Raynor label on the door’s interior side panel, usually upper left. The model prefix (ADV, BM, CLS) tells us the series; the width stamped on the label confirms seal length. If the label is gone, measure the retainer channel width: T-end retainer is 5/16-inch, bulb-style is 3/8-inch, bead-end is 1/4-inch. We carry quality aftermarket equivalents for all three profiles, cut to the exact inch on site. Mainspring Garage Door Co. is an independent service provider, not affiliated with Raynor, but our technicians are factory-familiar with the full Raynor catalog.
Signs Your Raynor Weather Seal Replacement Is Failing
- Water seeping under the closed door. The seal has compressed or cracked, breaking the continuous contact with your concrete threshold. In Bellaire, where afternoon downpours can drop two inches in an hour, this shows up fast as a wet stripe across the garage floor.
- Visible daylight beneath the door. A healthy seal blocks light completely. If you see a line of brightness from inside with the door closed, the rubber has either shrunk, pulled from the retainer, or worn thin at the center where the door flexes most.
- Insects or debris accumulating near the threshold. The seal’s job is to be a physical barrier. When gaps open, ants, millipedes, and leaf litter find their way in, particularly after Bellaire’s spring and fall storm fronts.
- The seal is dragging or binding as the door opens. A seal that has pulled partially from its retainer will catch on the floor or threshold, sometimes tearing further. This strains the opener and can throw the door out of balance over time.
- Cracking, splitting, or a permanent flat spot in the rubber. Texas UV exposure oxidizes the compound; heat cycling fatigues it. Once the surface crazes with small cracks, the seal is done. It will not spring back, and no adhesive fixes it for long.
Replacement Cost & What’s Included
Raynor weather seal replacement in Bellaire falls within our Garage Door Repair range of $150-$600. Most single-car residential doors run toward the lower half; double-wide doors, doors with damaged retainer tracks, or commercial-grade Raynor units trend higher.
What drives the price: seal material (vinyl, rubber, or heavy-duty EPDM for sun exposure), door width, and whether the aluminum or PVC retainer itself is bent, corroded, or pulling loose from the door bottom. We quote the full installed price before any work begins. The seal, labor, and our 90-Day Done Right Promise are all included. If the retainer needs replacement, we say so upfront and price it as part of the same flat quote. No surprises on the bill.
DIY or Call Us?
Checking your seal is safe enough: close the door, kneel down, and look for gaps, cracks, or areas where the seal has pulled free. You can measure the retainer channel with a tape measure to confirm which profile you need.
Installing the replacement is where it goes wrong for most owners. The door must be fully open and secured, the old seal often tears coming out, and the new one must feed evenly through the retainer without twisting or stretching. A kinked seal will leak and wear prematurely. If the retainer is damaged, removal and re-riveting requires drilling and proper alignment so the door still seats square. We do this work daily. Call (832) 937-9424 and we will quote it flat, do it right, and stand behind it.
FAQs
Five to eight years is typical here, shorter if the door faces direct west sun. The Gulf Coast combination of UV, heat, and humidity degrades rubber compounds faster than in drier climates. Call (832) 937-9424 for a free inspection if you are unsure of yours.
No. Once the rubber has cracked, compressed, or pulled from the retainer, patching with adhesive or sealant is temporary at best. The material will fail again within weeks. Replacement with the correct profile is the only lasting fix.
Most residential Raynor weather seal replacements take 30 to 60 minutes on site. We cut the seal to length from stock on the truck, remove the old one, and install the new. If the retainer track needs replacement, add 20 to 30 minutes.
Yes. We stock T-end, bulb-style, and bead-end profiles in standard widths, along with replacement retainer tracks and hardware. Most Bellaire jobs are completed in a single visit with no waiting on parts.
Written by Carl Dutton, Owner, Mainspring Garage Door Co. at Mainspring Garage Door Co., serving Bellaire and nearby areas.